Editing a Dashboard Template and Showing it in the Dashboard Viewer
Our sample projects and report templates can help you learn the basics of working with our products.This example shows how to edit dashboard template and show it in the viewer. First, use
Now, let's create two buttons with actions:
After that, create two blocks with viewer and designer:
Finally, let's create two actions for our buttons:
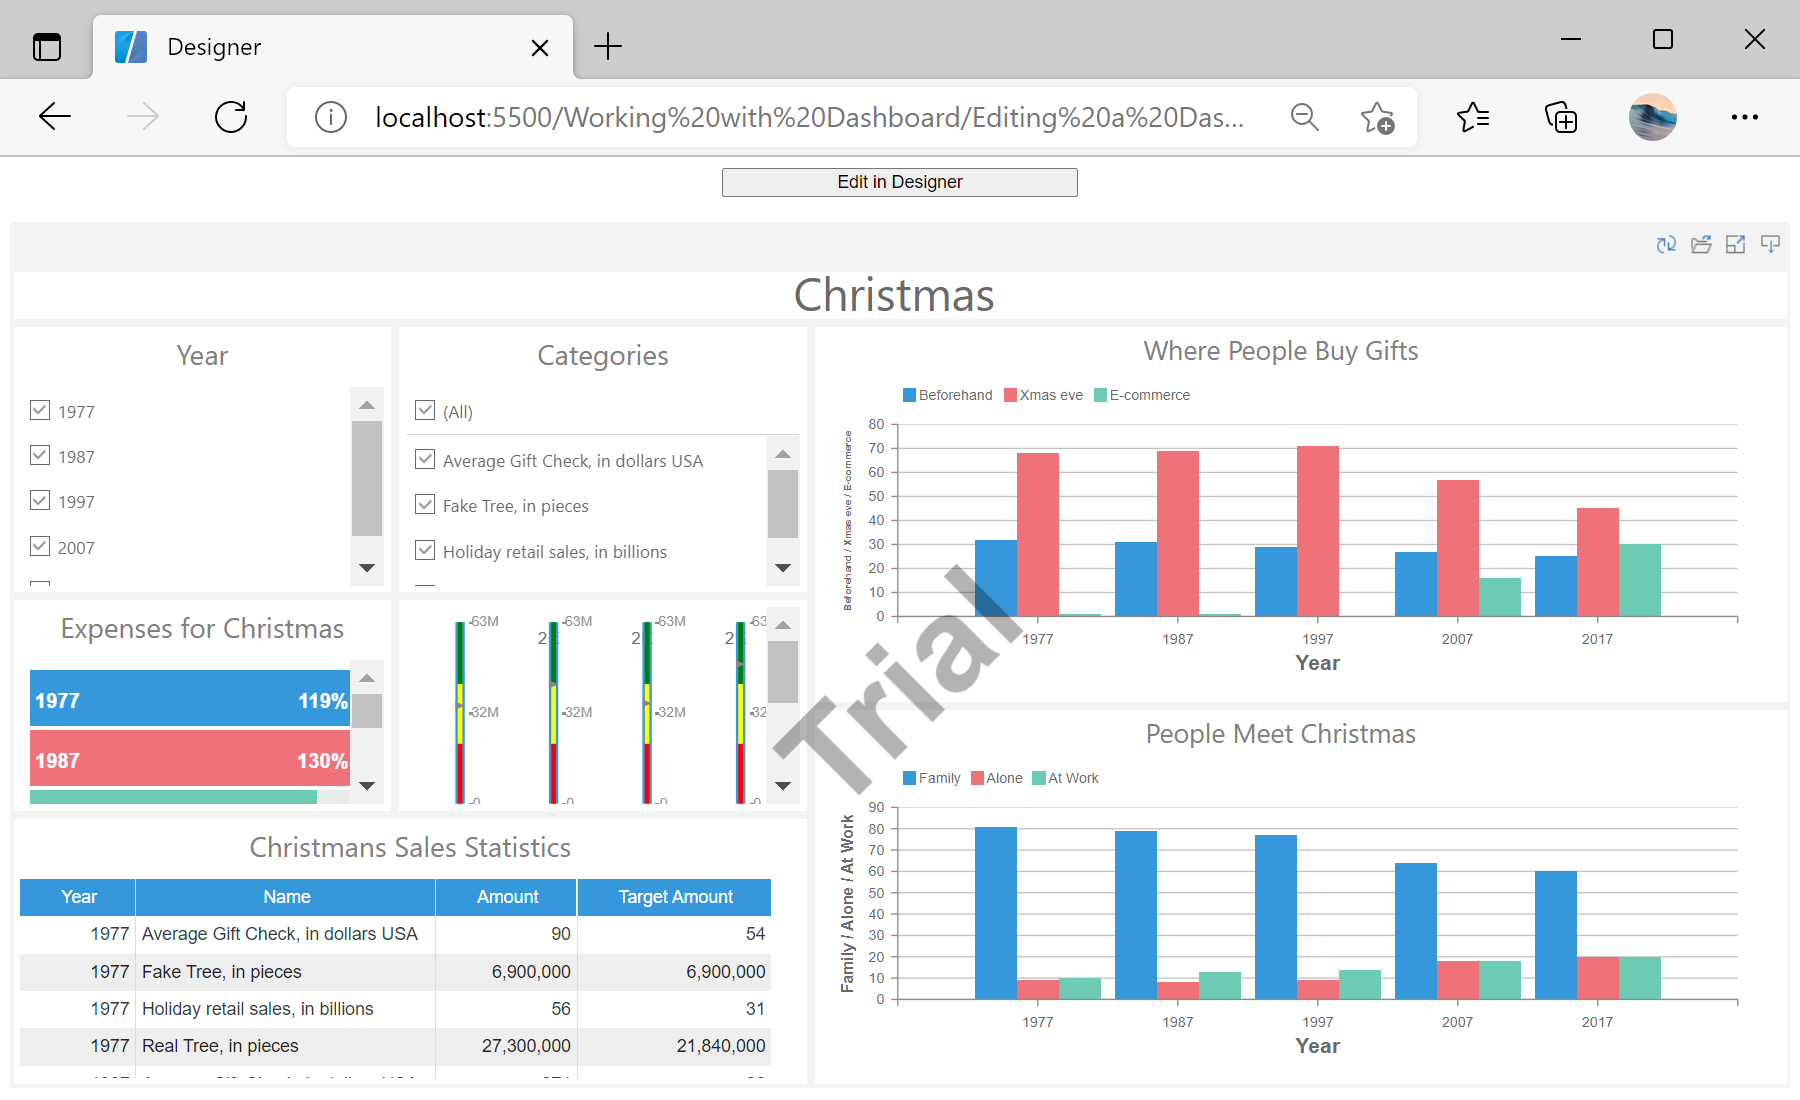
In the screenshot below you can see the result of the sample code:
StiDesigner() method to create the designer. After that, use StiViewer() method to create the viewer. Use createNewDashboard() and loadFile() methods to create new dashboard and load dashboard template. Finally, assign dashboard to the viewer:
<script type="text/javascript">
	// Create the dashboard designer with default options
	var designer = new Stimulsoft.Designer.StiDesigner(null, "StiDesigner", false);

	// Viewer options
	var options = new Stimulsoft.Viewer.StiViewerOptions();
	options.appearance.scrollbarsMode = true;

	// Create the dashboard viewer with default options
	var viewer = new Stimulsoft.Viewer.StiViewer(options, "StiViewer", false);

	// Create a new dashboard instance
	var report = Stimulsoft.Report.StiReport.createNewDashboard();

	// Load default dashboard from url
	report.loadFile("../dashboard/Christmas.mrt");

	// Assign dashboard to the viewer, the dashboard will be built automatically after rendering the viewer
	viewer.report = report;
</script>
Now, let's create two buttons with actions:
<center>
	<input type="button" id="openInDesignerButton" style="width: 20%" value="Edit in Designer" OnClick="openInDesigner();" />
	<input type="button" id="openInViewerButton" style="width: 20%" value="Show in Viewer" OnClick="openInViewer();" />
</center>
After that, create two blocks with viewer and designer:
<div id="viewerDiv">
	<script>
		viewer.renderHtml();
	</script>
</div>
<div id="designerDiv">
	<script>
		openInViewerButton.style.display = 'none';
		designerDiv.style.display = 'none';
		designer.renderHtml();
	</script>
</div>
Finally, let's create two actions for our buttons:
<script>
	function openInDesigner() {
		openInDesignerButton.style.display = 'none';
		openInViewerButton.style.display = 'block';
		designer.report = viewer.report;
		designerDiv.style.display = 'block';
		viewerDiv.style.display = 'none';
	}

	function openInViewer() {
		openInDesignerButton.style.display = 'block';
		openInViewerButton.style.display = 'none';
		viewer.report = designer.report;
		designerDiv.style.display = 'none';
		viewerDiv.style.display = 'block';
	}
</script>
In the screenshot below you can see the result of the sample code: