Adding a Custom Component to the Designer
Our sample projects and report templates can help you learn the basics of working with our products.This example shows how to create a Custom Component and add it to the Report Designer. Custom Component provides the ability to add components with their parameters in the report designer and use it in reports. For example, you can add a chart that is not present in stimulsoft reports.
In the first place, specify the attributes and their values:
Next, create a
Add new properties to the component -
Add necessary constructors to the new component of the
The
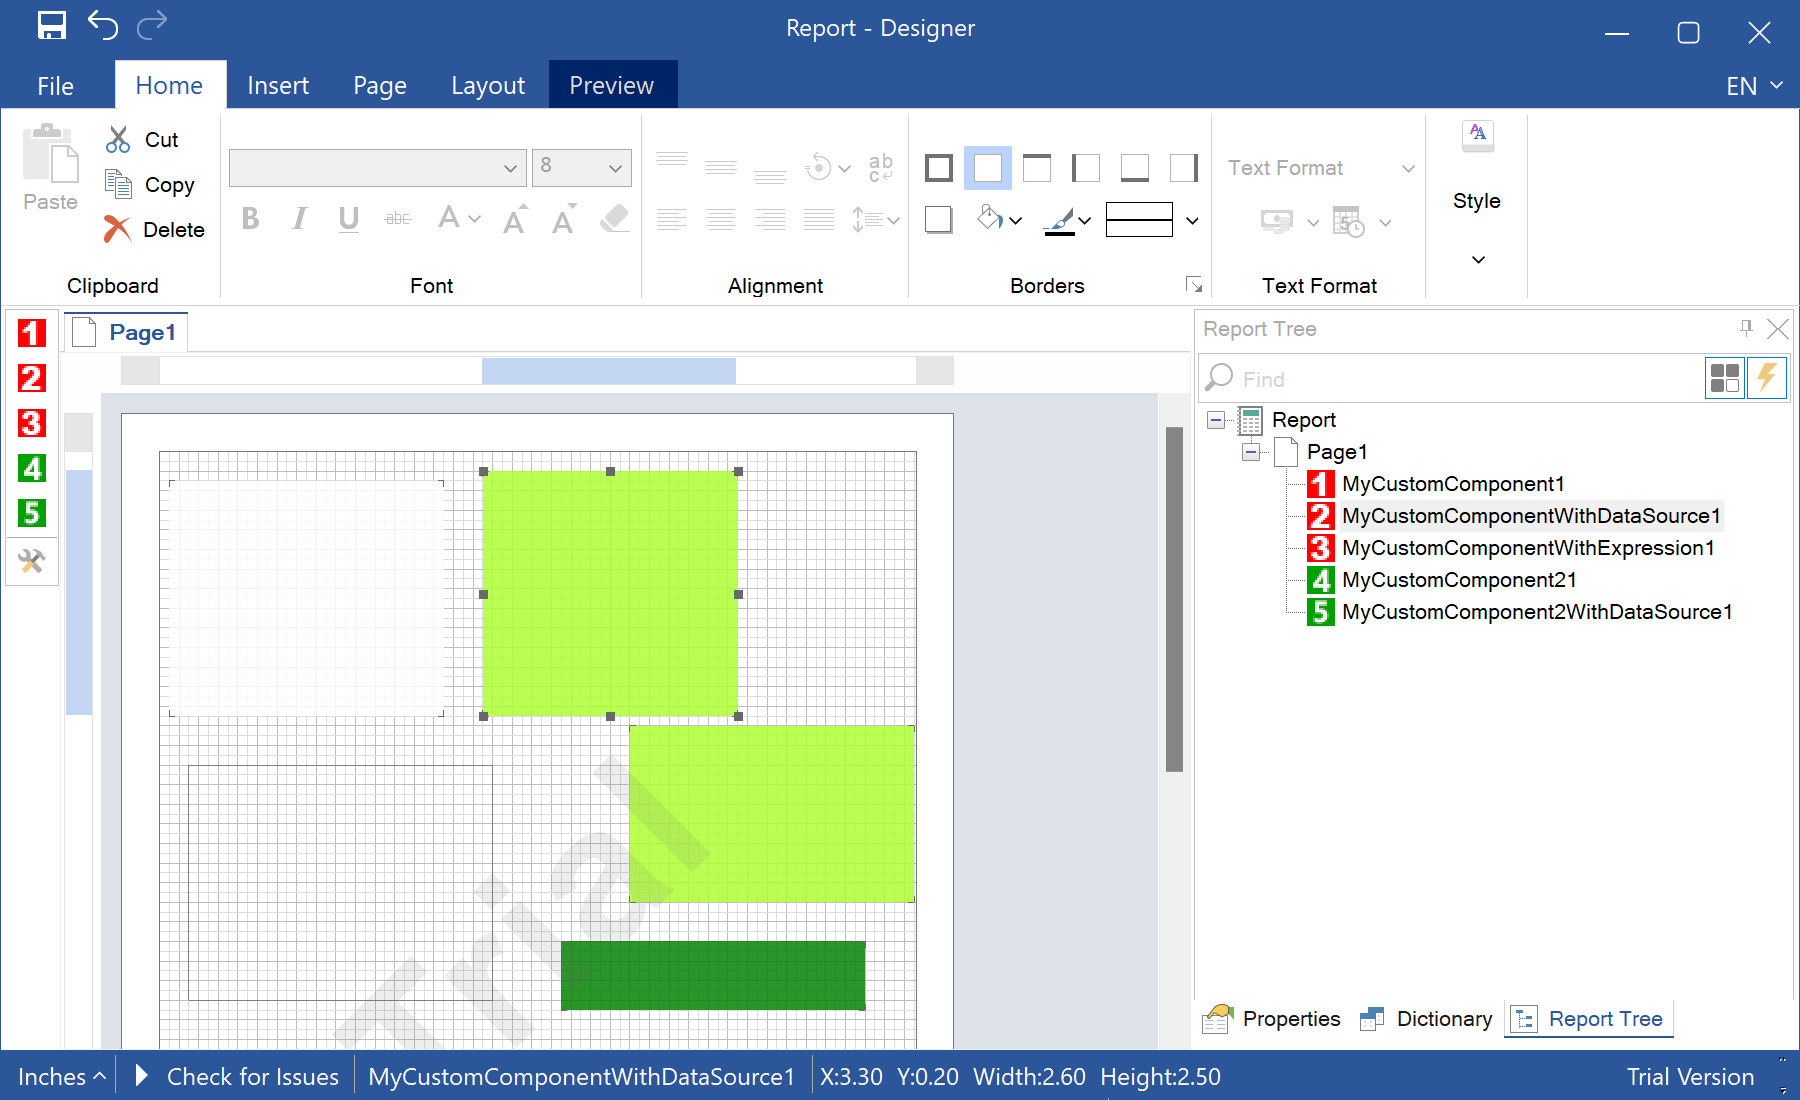
In the screenshot below you can see the result of the sample code:
In the first place, specify the attributes and their values:
[StiServiceBitmap(typeof(MyCustomComponent), "CustomComponent.MyCustomComponent1.gif")]
[StiToolbox(true)]
[StiContextTool(typeof(IStiShift))]
[StiContextTool(typeof(IStiGrowToHeight))]
[StiDesigner(typeof(MyCustomComponentDesigner))]
[StiV1Builder(typeof(MyCustomComponentV1Builder))]
[StiV2Builder(typeof(MyCustomComponentV2Builder))]
[StiGdiPainter(typeof(MyCustomComponentGdiPainter))]

...
Next, create a
MyCustomComponent class and specify inherited classes. Also, override required component properties:
...

public class MyCustomComponent : StiComponent, IStiBorder, IStiBrush
{
	#region StiComponent override
	/// <summary>
	/// Gets value to sort a position in the toolbox.
	/// </summary>
	public override int ToolboxPosition
	{
		get
		{
			return 500;
		}
	}

	/// <summary>
	/// Gets a localized name of the component category.
	/// </summary>
	public override string LocalizedCategory
	{
		get
		{
			return StiLocalization.Get("Report", "Components");
		}
	}

	/// <summary>
	/// Gets a localized component name.
	/// </summary>
	public override string LocalizedName
	{
		get
		{
			return "MyCustomComponent1";
		}
	}
	#endregion

...
Add new properties to the component -
Border and Brush, and set their default values.
...

	#region IStiBorder
	private StiBorder border = new StiBorder();
	/// <summary>
	/// Gets or sets a frame of the component.
	/// </summary>
	[StiCategory("Appearance")]
	[StiSerializable]
	[Description("Gets or sets frame of the component.")]
	public StiBorder Border
	{
		get
		{
			return border;
		}
		set
		{
			border = value;
		}
	}
	#endregion

	#region IStiBrush
	private StiBrush brush = new StiSolidBrush(Color.Transparent);
	/// <summary>
	/// Gets or sets a brush to fill a component.
	/// </summary>
	[StiCategory("Appearance")]
	[StiSerializable]
	[Description("Gets or sets a brush to fill a component.")]
	public StiBrush Brush
	{
		get
		{
			return brush;
		}
		set
		{
			brush = value;
		}
	}
	#endregion

...
Add necessary constructors to the new component of the
MyCustomComponent type:
...

	#region this
	/// <summary>
	/// Creates a new component of the type MyCustomComponent.
	/// </summary>
	public MyCustomComponent() : this(RectangleD.Empty)
	{

	}

	/// <summary>
	/// Creates a new component of the type MyCustomComponent.
	/// </summary>
	/// <param name="rect">The rectangle describes size and position of the component.</param>
	public MyCustomComponent(RectangleD rect) : base(rect)
	{
		PlaceOnToolbox = true;
	}
	#endregion
}
The
AddCustomComponent() method adds the Custom Components to the StiConfig.Services collection, and now we can find it in the Report Designer toolbar:
private static void AddCustomComponent()
{
	StiConfig.Load();

	StiOptions.Engine.ReferencedAssemblies = new string[] {
		"System.Dll",
		"System.Drawing.Dll",
		"System.Windows.Forms.Dll",
		"System.Data.Dll",
		"System.Xml.Dll",
		"Stimulsoft.Controls.Dll",
		"Stimulsoft.Base.Dll",
		"Stimulsoft.Report.Dll",

		#region Add reference to your assembly
		"CustomComponent.exe"
		#endregion
	};

	StiConfig.Services.Add(new MyCustomComponent());
	StiConfig.Services.Add(new MyCustomComponentWithDataSource());
	StiConfig.Services.Add(new MyCustomComponentWithExpression());
	StiConfig.Save();
}
In the screenshot below you can see the result of the sample code: