Creating a Custom Button on the Viewer Toolbar
Our sample projects and report templates can help you learn the basics of working with our products.This example shows how to create a custom button on the viewer toolbar. First, load scripts:
Next, add report viewer:
After that, create report object and load template:
Then, create a custom button:
Finally, use
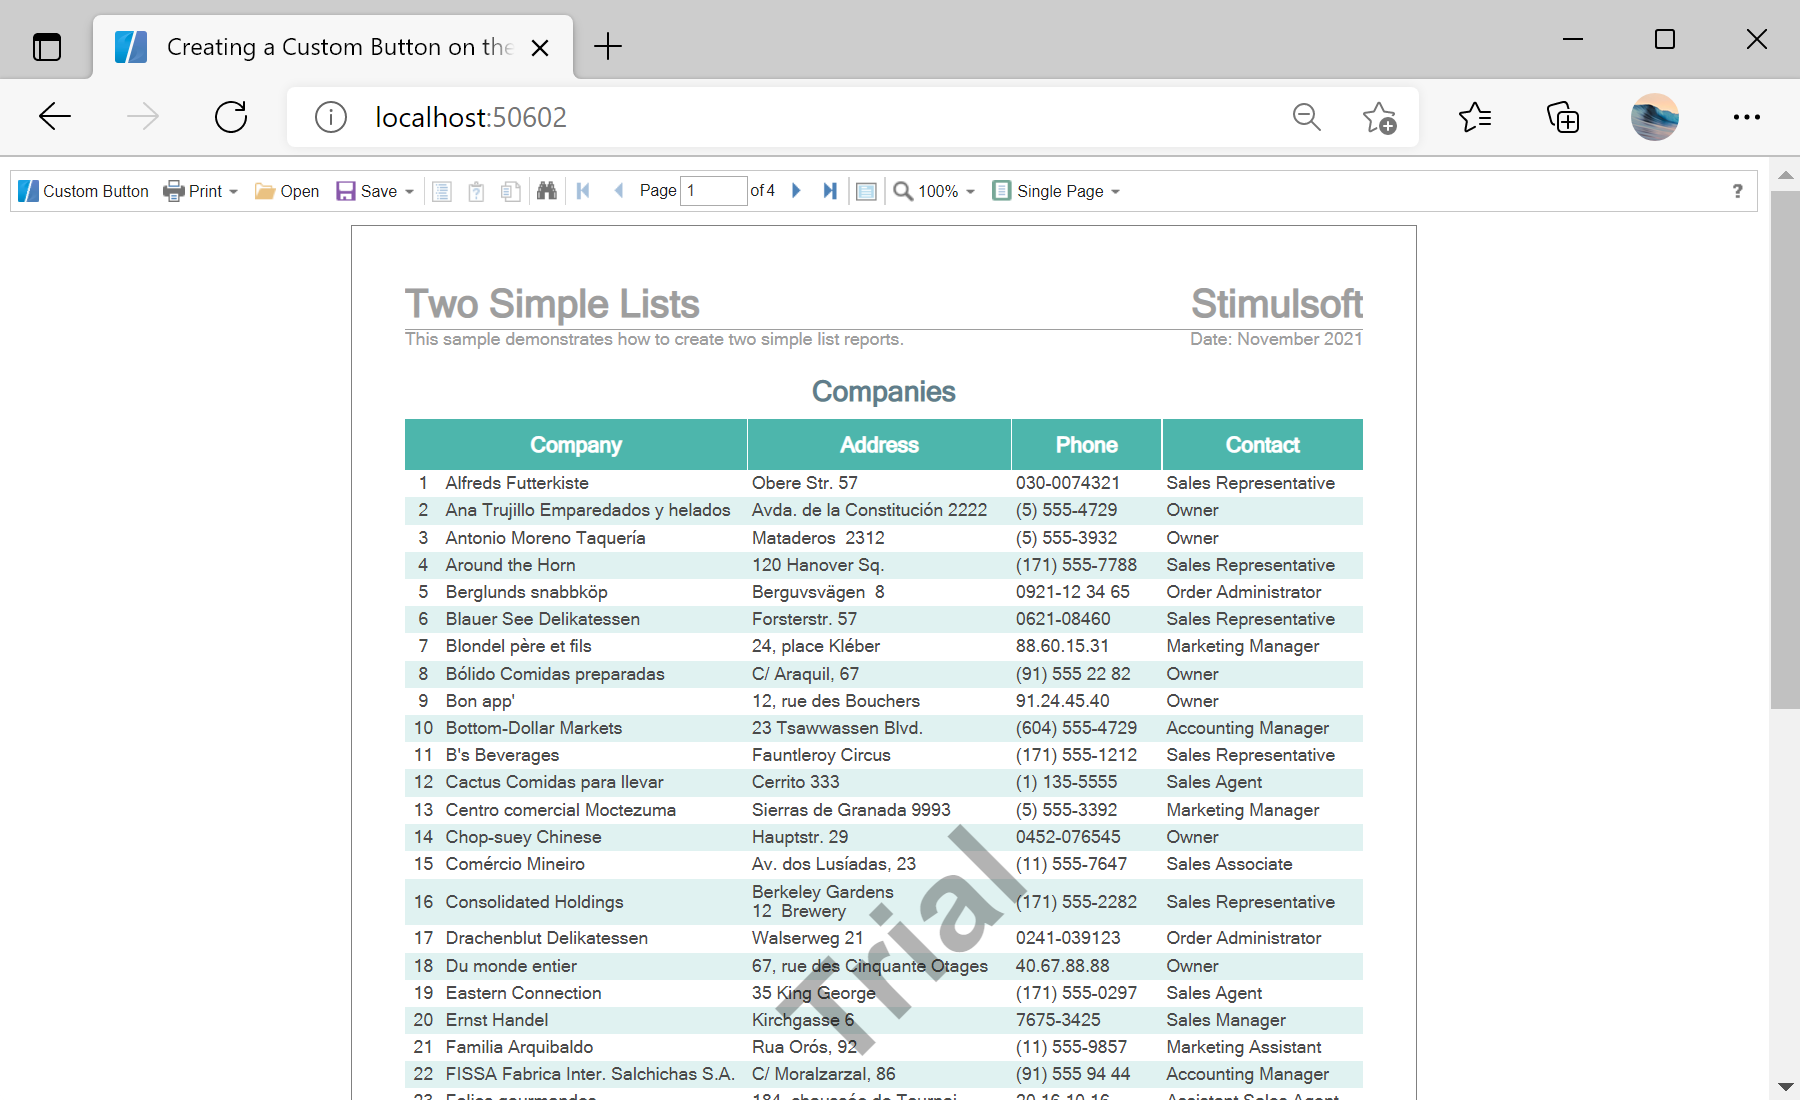
In the screenshot below you can see the result of the sample code:
@using Stimulsoft.Base
@using Stimulsoft.Report
@using Stimulsoft.Report.Blazor
@using Stimulsoft.Report.Web
Next, add report viewer:
<!--Report Viewer-->
<StiBlazorViewer ID="WebViewer1" Report="@Report" OnAfterRenderEvent="@OnAfterRenderEvent" />
After that, create report object and load template:
@code
{
    //Report object to use in viewer
    private StiReport Report;

    protected override async Task OnInitializedAsync()
    {
        await base.OnInitializedAsync();

        //Create empty report object
        this.Report = new StiReport();

        //Load report template
        var reportBytes = await Http.GetByteArrayAsync("Reports/TwoSimpleLists.mrt");
        this.Report.Load(reportBytes);
    }

...
Then, create a custom button:
<script>
	var createButton = function () {
		// 'jsWebViewer1' is a 'js' prefix plus the component ID
		var customButton = this.jsWebViewer1.SmallButton("customButton", "Custom Button", "emptyImage");
		customButton.image.src = "icon.png";
		customButton.action = function () {
			alert("Custom Button Event");
		}
		var toolbarTable = this.jsWebViewer1.controls.toolbar.firstChild.firstChild;
		var buttonsTable = toolbarTable.rows[0].firstChild.firstChild;
		var customButtonCell = buttonsTable.rows[0].insertCell(0);
		customButtonCell.appendChild(customButton);
	}
</script>
Finally, use
InvokeVoidAsync to add a button:
...

	private void OnAfterRenderEvent()
    {
        JSRuntime.InvokeVoidAsync("createButton");
    }
}
In the screenshot below you can see the result of the sample code: