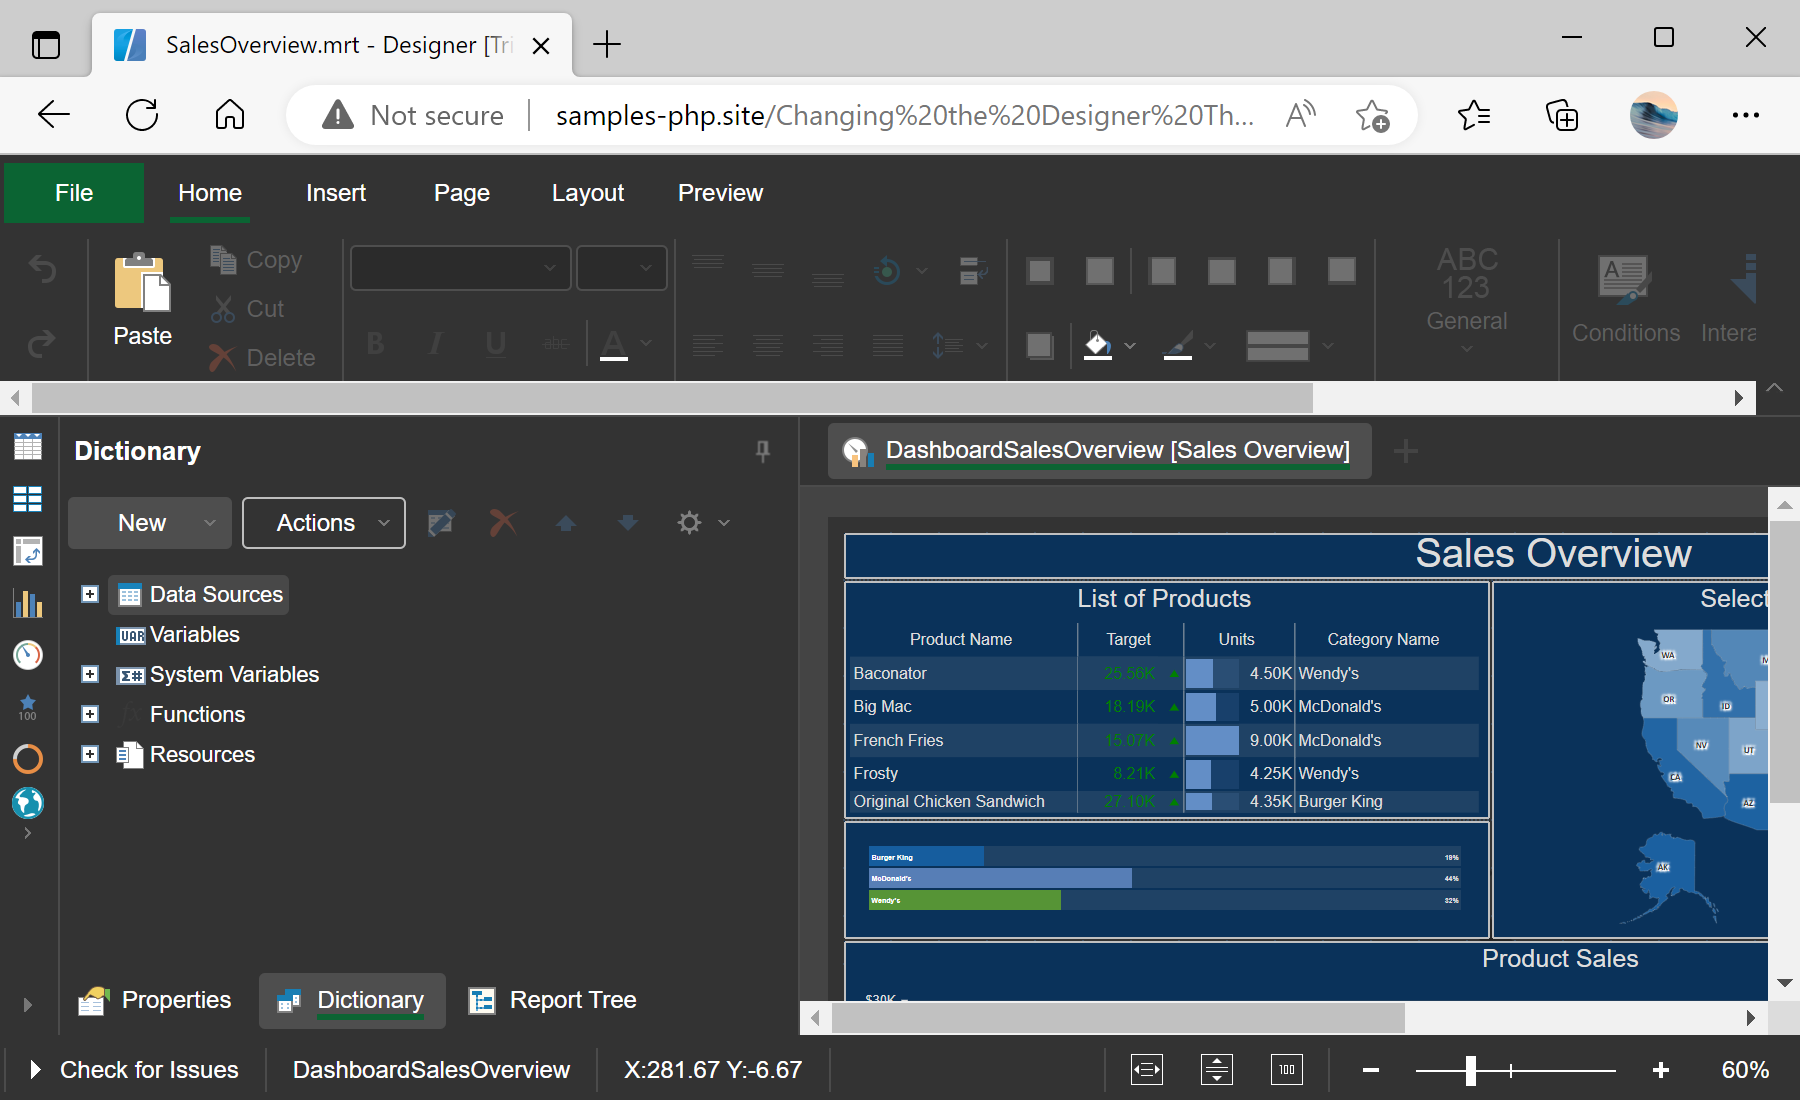
This example shows how to change the designer theme. First, you need to add the Stimulsoft libraries and scripts, required for the component to work. All code should be added in the
<head> block of the HTML page:
<?php
require_once 'vendor/autoload.php';
?>

...

<?php
$js = new \Stimulsoft\StiJavaScript(\Stimulsoft\StiComponentType::Designer);
$js->renderHtml();
?>
Next, in the
<script> block, create and configure an event handler:
<script type="text/javascript">
<?php
$handler = new \Stimulsoft\StiHandler();
$handler->renderHtml();
Next, create and configure the designer options to change the designer theme and any other setting:
$options = new \Stimulsoft\Designer\StiDesignerOptions();
$options->appearance->fullScreenMode = true;
$options->appearance->theme = \Stimulsoft\Designer\StiDesignerTheme::Office2022BlackGreen;
Next, apply options to the designer:
$designer = new \Stimulsoft\Designer\StiDesigner($options);
Next, create and load a dashboard. The
loadFile() method does not load the report object on the server side, it only generates the necessary JavaScript code. The dashboard will be loaded into a JavaScript object on the client side:
$report = new \Stimulsoft\Report\StiReport();
$report->loadFile('reports/Christmas.mrt');
$designer->report = $report;
?>
Finally, render the necessary JavaScript code and visual HTML part of the component, and close the
</script> block. The rendered code will be placed inside the specified HTML element:
function onLoad() {
	<?php
	$designer->renderHtml('designerContent');
	?>
}
</script>

...

<body onload="onLoad();">
<div id="designerContent"></div>
</body>
In the screenshot below you can see the result of the sample code:
