UltimateBest Value
A complete set of libraries and scripts for reporting and data analysis, with report and dashboard designers and viewers for 35+ frameworks, platforms, and technologies.
Reports.WEBMost Popular
ASP.NET, ASP.NET Core, MVC, Razor
.NET Framework 4.5.2+ | .NET 6.0+
Reports.NET
WinForms
.NET Framework 4.5.2+ | .NET 6.0+
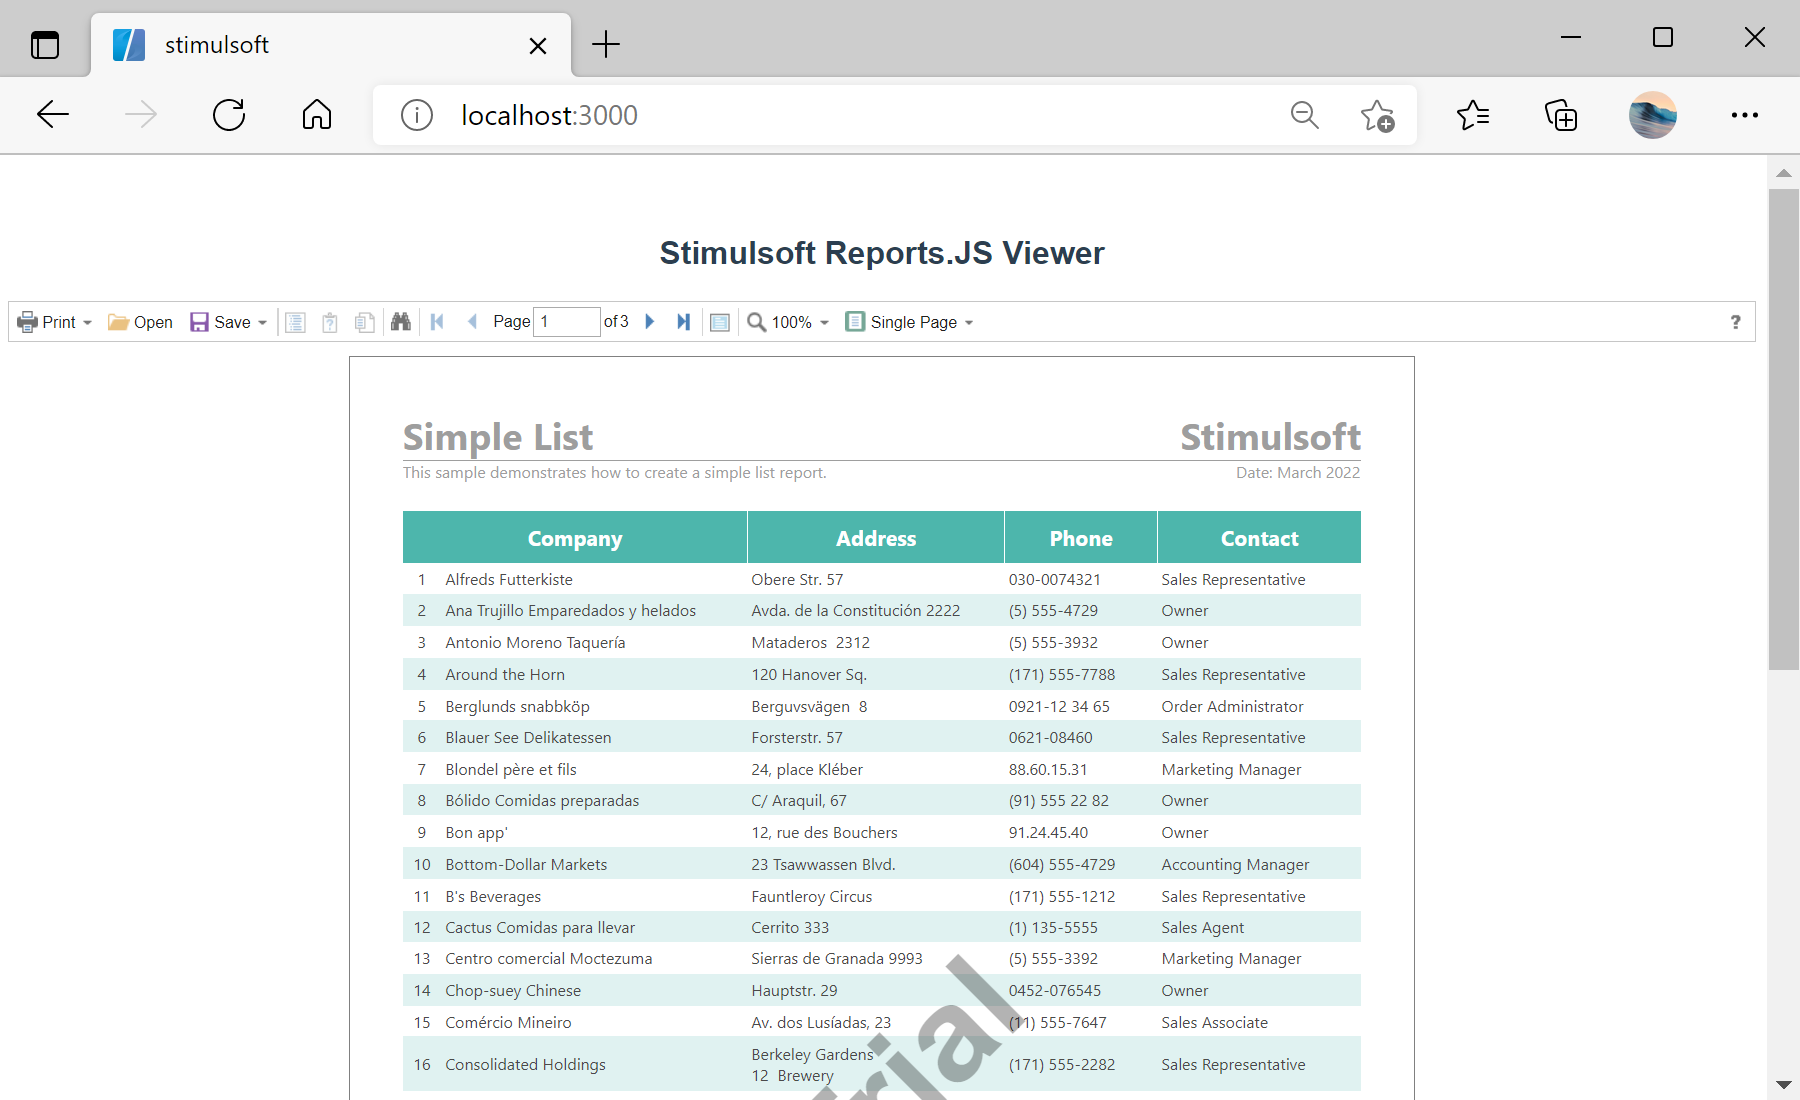
Reports.JSMost Popular
JavaScript, Node.js, Angular, React, Vue
Web browser | Node.js 16+
Reports.WPF
WPF platform
.NET Framework 4.5.2+ | .NET 6.0+
Reports.PHP
PHP, Laravel
PHP 7.1+
Reports.BLAZOR
Blazor Server, Blazor WASM
.NET 6.0+
Reports.PYTHON
Python, Flask, Django, Tornado
Python 3.10+
Reports.ANGULAR
All actively supported versions
.NET Framework 4.5.2+ | .NET 6.0+
Reports.AVALONIA
Avalonia
.NET 6.0+
Reports.JAVA
Java, Jakarta EE (Web)
Java SE 8+
UltimateBest Value
A complete set of libraries and scripts for reporting and data analysis, with report and dashboard designers and viewers for 35+ frameworks, platforms, and technologies.
Dashboards.WEB
ASP.NET, ASP.NET Core, MVC, Razor
.NET Framework 4.5.2+ | .NET 6.0+
Dashboards.WIN
WinForms, WPF
.NET Framework 4.5.2+ | .NET 6.0+
Dashboards.JS
JavaScript, Node.js, Angular, React, Vue
Web browser | Node.js 16+
Dashboards.PHP
PHP, Laravel
PHP 7.1+
Dashboards.BLAZOR
Blazor Server, Blazor WASM
.NET 6.0+
Dashboards.ANGULAR
All actively supported versions
.NET Framework 4.5.2+ | .NET 6.0+
Dashboards.PYTHON
Python, Flask, Django, Tornado
Python 3.10+
UltimateBest Value
A complete set of libraries and scripts for reporting and data analysis, with report and dashboard designers and viewers for 35+ frameworks, platforms, and technologies.
PDF Forms
ASP.NET, MVC, Angular
.NET Framework 4.5.2+ | .NET 6.0+
Cloud
A cloud service to quickly and efficiently analyze and visualize data for your business without creating your applications and programming.
Designer
A sturdy product that runs on any computer and any platform.
Server
A complete set of tools for working with reports and dashboards, as well as user management and automation tools.
