Stimulsoft reporting provides a tool that checks your reports for problems which you may miss. This tool is unique to Stimulsoft and can be a very helpful feature for quality control. Users can run checks for warnings, compilation errors, recommendations and even advice. In many cases the report checker can show you a preview of the report with the problem area highlighted and also provides ways to fix the issues in the report definition file.
In this tutorial I will show you how to create shipping label report in Stimulsoft Reports.Wpf and check it in Report Checker.Wpf and fix the errors, warnings and recommendations.
The data for this sample report will come from the Northwind sample database provided by Microsoft.
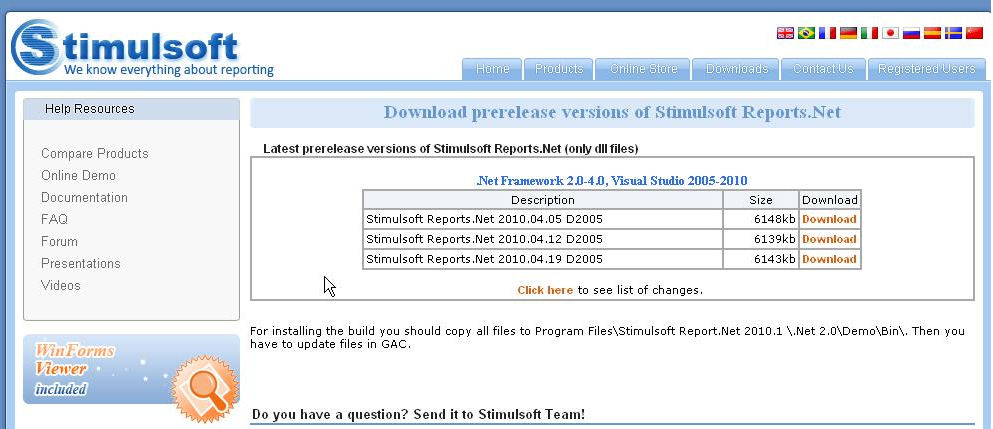
The demo version of Stimulsoft reporting tools can be downloaded from the website: http://www.stimulsoft.com/en/downloads
Steps are required in order to create a simple report:
1. Add a connection to your report
2. Add required data sources to report
3. Add Orders to the report
4. Fix report in Report Checker
1. Add a data source to your report
2. Add required data sources to report
3. Add Orders to the report
4. Fix report in Report Checker
In this tutorial I will show you how to create shipping label report in Stimulsoft Reports.Wpf and check it in Report Checker.Wpf and fix the errors, warnings and recommendations.
The data for this sample report will come from the Northwind sample database provided by Microsoft.
The demo version of Stimulsoft reporting tools can be downloaded from the website: http://www.stimulsoft.com/en/downloads
Steps are required in order to create a simple report:
1. Add a connection to your report
2. Add required data sources to report
3. Add Orders to the report
4. Fix report in Report Checker
1. Add a data source to your report
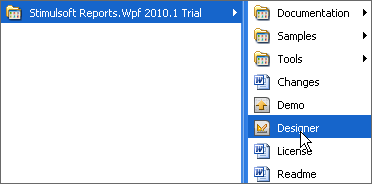
- Open Stimulsoft Reports.Wpf Designer from start menu, the WPF designer is big improvement of the windows forms designer and looks very similar to the office 2010 interface;
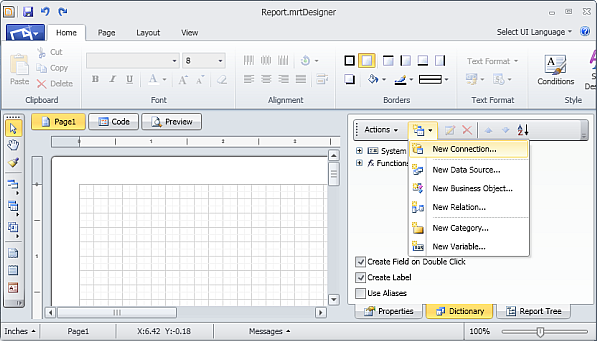
- Select Dictionary Tab in the right pane;
- Select New Item and click on New Connection;
- The new connection wizard gives you various options for different types of connections, namely SQL connection, OleDB connection, XML data and ODBC connection;
- Select SQL connection for this tutorial;
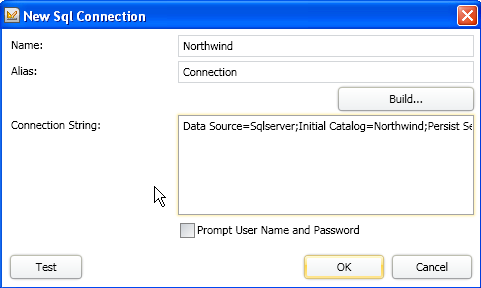
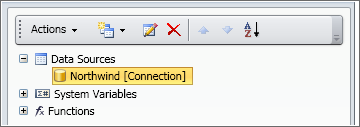
- Give the connection any name that represents the database. For our example I will name it Northwind;
- Click on Build button to create a connection string or paste it into the connection string text area. You can also create your own connection string using instructions given on http://www.connectionstrings.com;
- Click on the test button to make sure that the connection string works.
2. Add required data sources to report
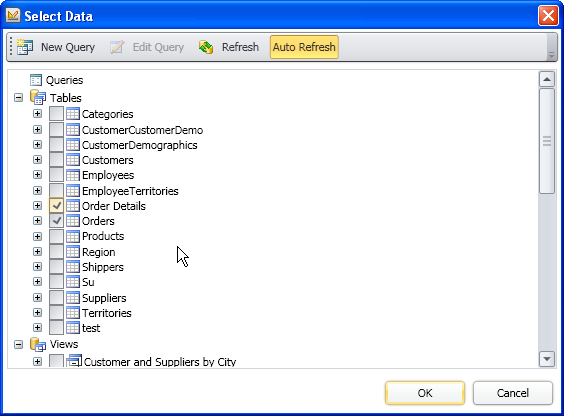
- Right-click on the newly created Northwind connection and select New Data Source;
- Select Northwind and click OK;
- Stimulsoft reports will display all data objects that are available for reporting;
- For our example we will selected Orders and Order details tables and click OK;
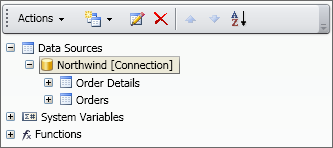
- Orders and Order Details tables as now available under Northwind connection.
3. Add Orders to the report
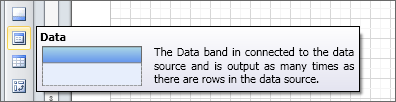
- Find Data Band in Toolbox on Left side of report designer;
- Drag and drop the data band from toolbox into the report to create a new data band. When prompted for data source selection just click ok;
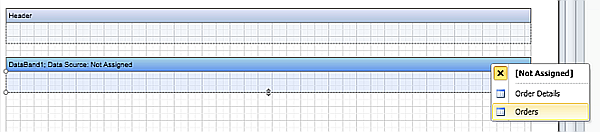
- Move your mouse to top right corner of data and to see various small buttons, click on the left most to select data source;
- Select orders to assign orders as the data source of the data band;
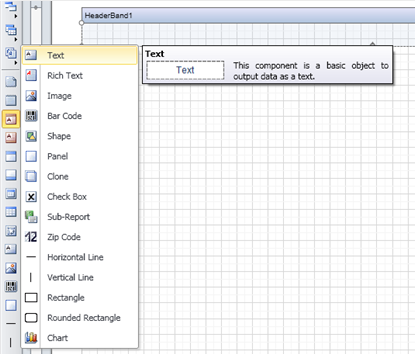
- Drag and Drop Text object into the Header to display Orders header;
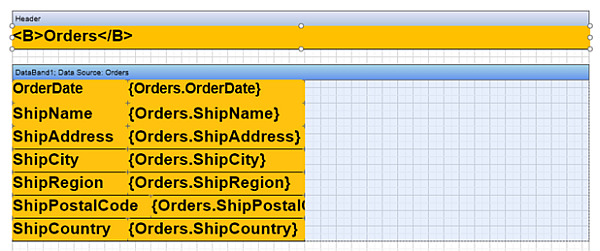
- We will use HTML formatting to display Orders in Bold. Type <B>Orders</B> to display it in Bold;
- Drag and Drop Order Date, Ship Name, Ship Address, Ship City, Region, Country and Postal Code to the Data Band;
- This report will help users print shipping labels so we will need to a bar code also;
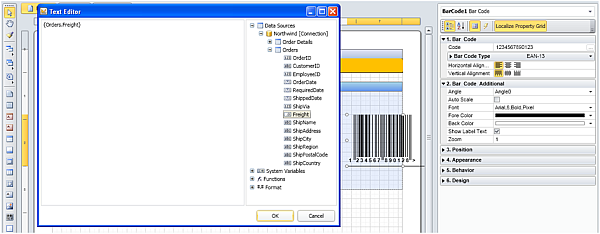
- Drag and Drop the bar code object into the data band;
- Right click on the barcode and select properties;
- Find the Code Property and click on ... button on right most corner of the property;
- Drag and Drop the Order.Freight property into the text edit, this tells the report designer to generate barcodes based on value of freight;
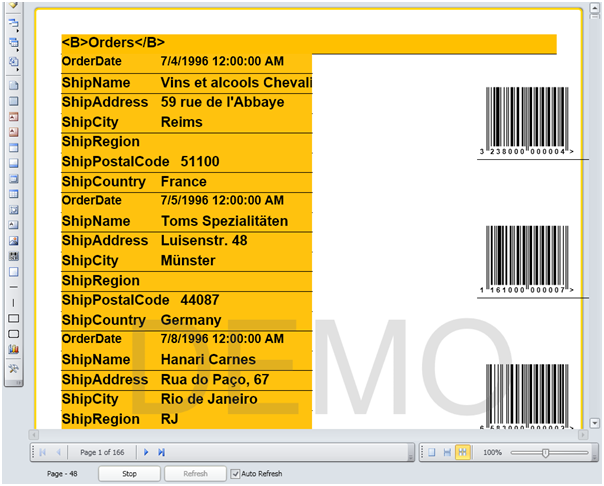
- Click on the preview tab to see how the report looks with real data;
- Save the file as Order.mrt as a known location.
4. Fix report in Report Checker
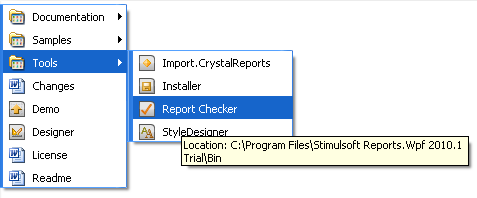
- Open report checker from start menu;
- Click on the Open button and browse to Orders.mtr and click on Open;
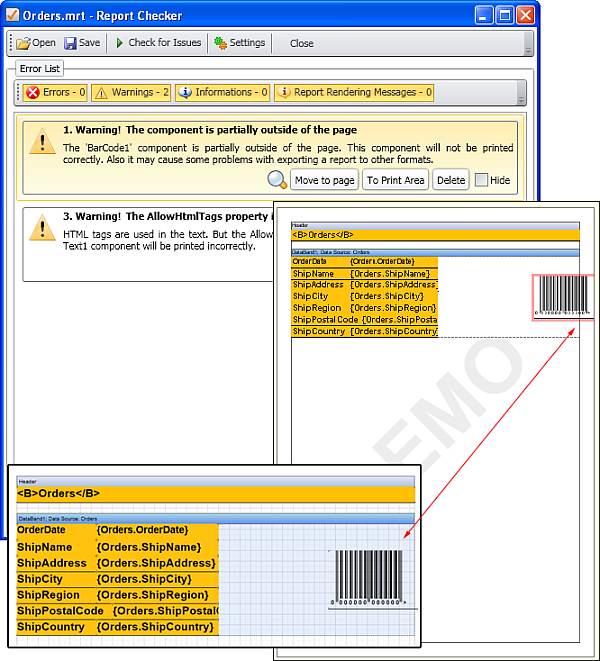
- Report Checker will scan Order.mrt and display its findings;
- We can see that there are 2 warnings;
- The first warning shows as one of the components in the report is outside the page;
- To view which component is outside the page, simple move your move over to the magnifying glass to see a preview;
- We can clearly see that the bar code is highlighted in Red and is outside the page;
- I don't need to go back to the report designer to fix, I can simply click on Move to page or To Print Area to fix this;
- Now I can go back to the report designer to see that the bar code has been moved inside the margin;
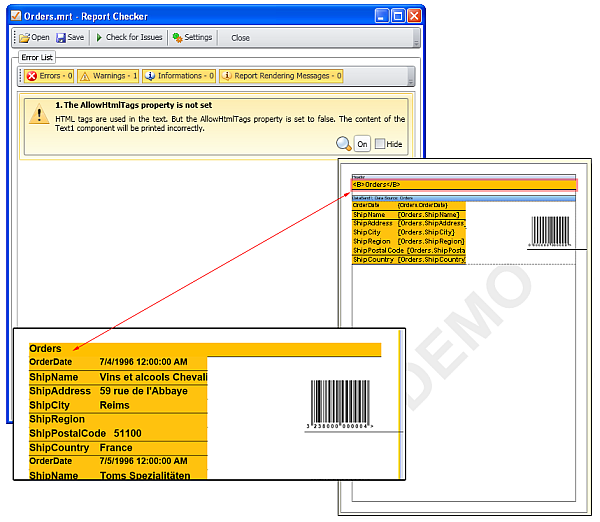
- The second warning shows that AllowHtmlTags property is set to False;
- Move your move over the magnifying glass to see that Orders header is highlighted;
- To fix this error simply click on the On button;
- When we go back to report designer we can see that the ugly <B> tags are gone and Orders text is displayed in bold;
- Now we can go to preview tab to see the final result.