Integrating the Dashboard Designer into an Application
Unsere Beispiele der Projekte und Berichtsvorlagen helfen Ihnen, die Grundlagen der Arbeit mit unserer Software zu erlernen.This example shows how to integrate the dashboard designer into a React application. First of all, load scripts:
Then, create a
Finally, use
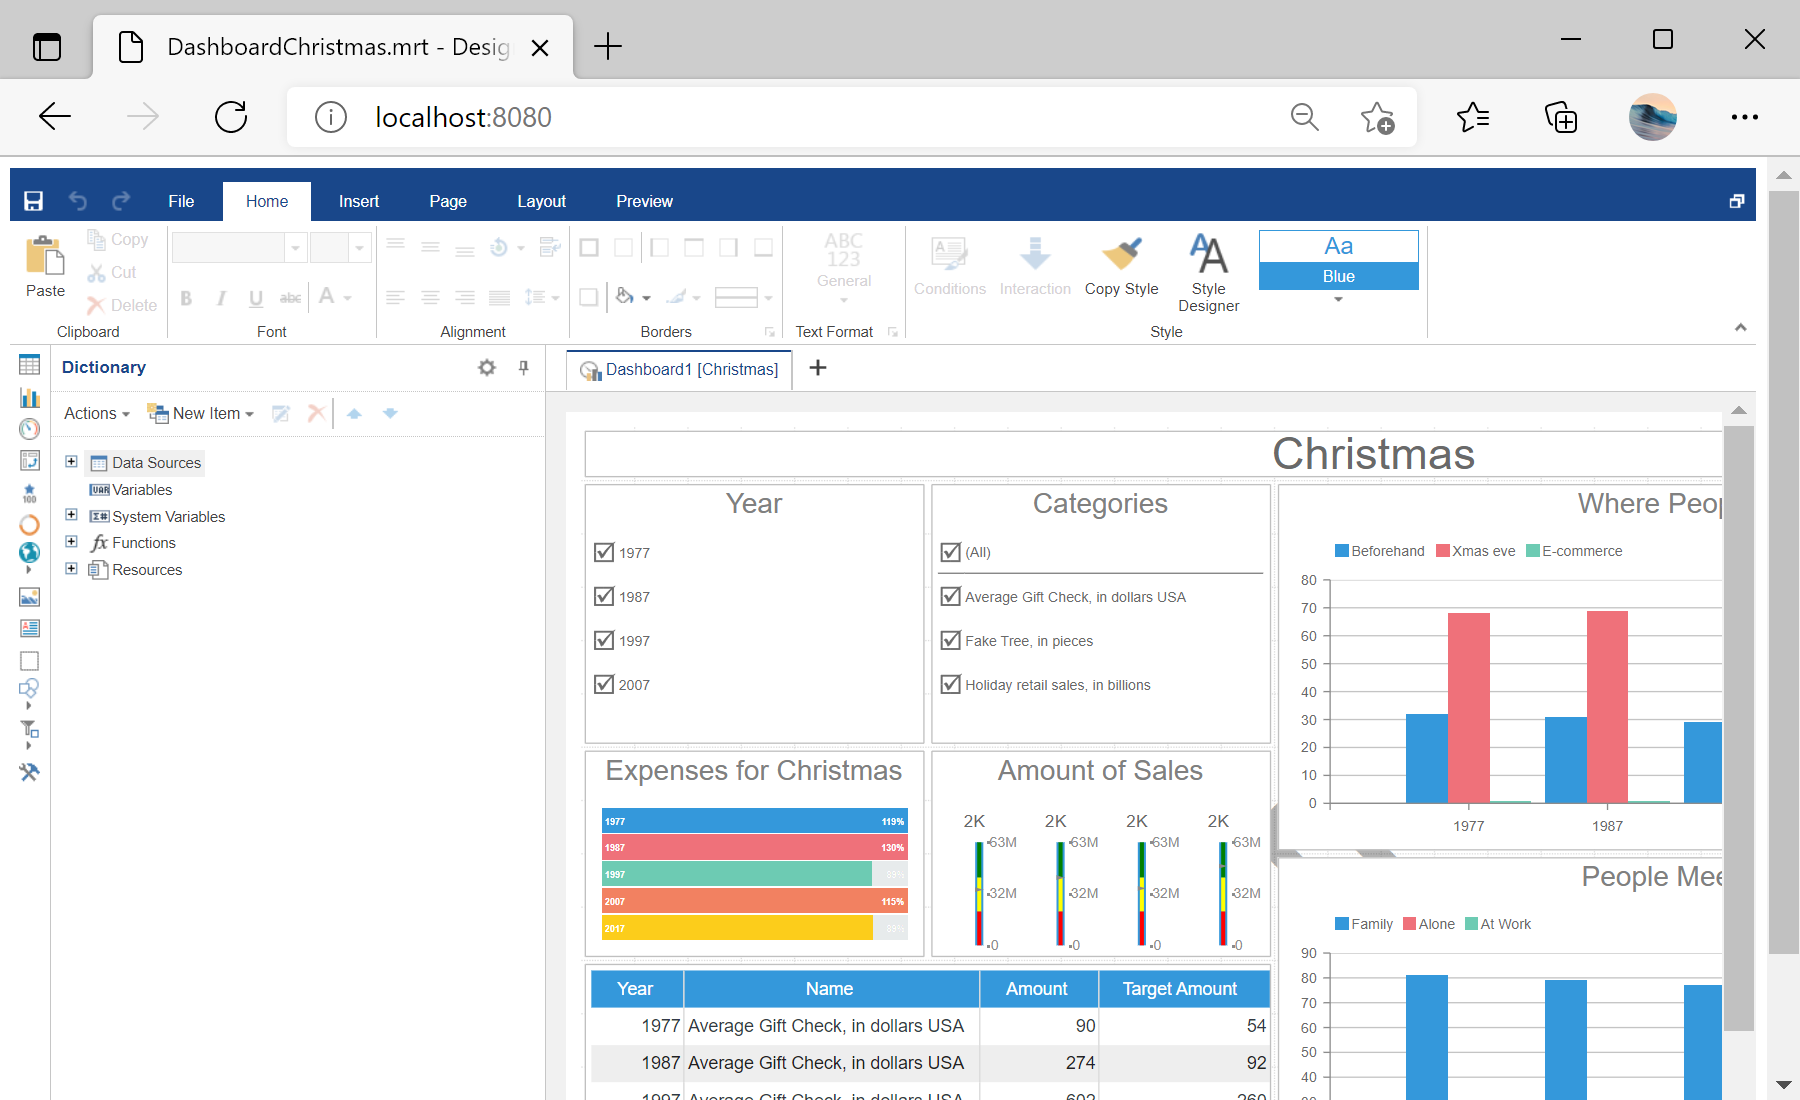
Auf dem Screenshot unten Sie können das Ergebnis des Beispiel-Codes ansehen:
<script src="/stimulsoft/stimulsoft.reports.js"></script>
<script src="/stimulsoft/stimulsoft.dashboards.js"></script>
<script src="/stimulsoft/stimulsoft.viewer.js"></script>
<script src="/stimulsoft/stimulsoft.designer.js"></script>
<script src="/stimulsoft/stimulsoft.blockly.js"></script>
Then, create a
Designer class which extends from React component:
<script type="text/babel">
	class Designer extends React.Component {
		render() {
			return <div id="designer"></div>;
		}

		componentDidMount(){
			console.log('Loading Designer view');

			console.log('Set full screen mode for the designer');
			var options = new window.Stimulsoft.Designer.StiDesignerOptions();
			options.appearance.fullScreenMode = false;

			console.log('Create the dashboard designer with specified options');
			var designer = new window.Stimulsoft.Designer.StiDesigner(options, 'StiDesigner', false);

			console.log('Create a new dashboard instance');
			var report = window.Stimulsoft.Report.StiReport.createNewDashboard();

			console.log('Load dashboard from url');
			report.loadFile('dashboard/DashboardChristmas.mrt');

			console.log('Edit dashboard template in the designer');
			designer.report = report;

			designer.renderHtml("designer");
		}
	}

...
Finally, use
ReactDOM.render to update the component:
...

	ReactDOM.render(
		<Designer />,
		document.getElementById("main")
	)
</script>
Auf dem Screenshot unten Sie können das Ergebnis des Beispiel-Codes ansehen: