Cloud
Облачный сервис для быстрого и эффективного анализа и визуализации данных для вашего бизнеса без необходимости создания своих приложений и программирования.
<script src="/stimulsoft/stimulsoft.reports.js"></script>
<script src="/stimulsoft/stimulsoft.dashboards.js"></script>
<script src="/stimulsoft/stimulsoft.viewer.js"></script>Viewer class which extends from React component:
<script type="text/babel">
class Viewer extends React.Component {
render() {
return <div id="viewer"></div>;
}
componentDidMount(){
console.log('Loading Viewer view');
console.log('Creating the dashboard viewer with default options');
var viewer = new window.Stimulsoft.Viewer.StiViewer(null, 'StiViewer', false);
console.log('Creating a new dashboard instance');
var report = window.Stimulsoft.Report.StiReport.createNewDashboard();
console.log('Load dashboard from url');
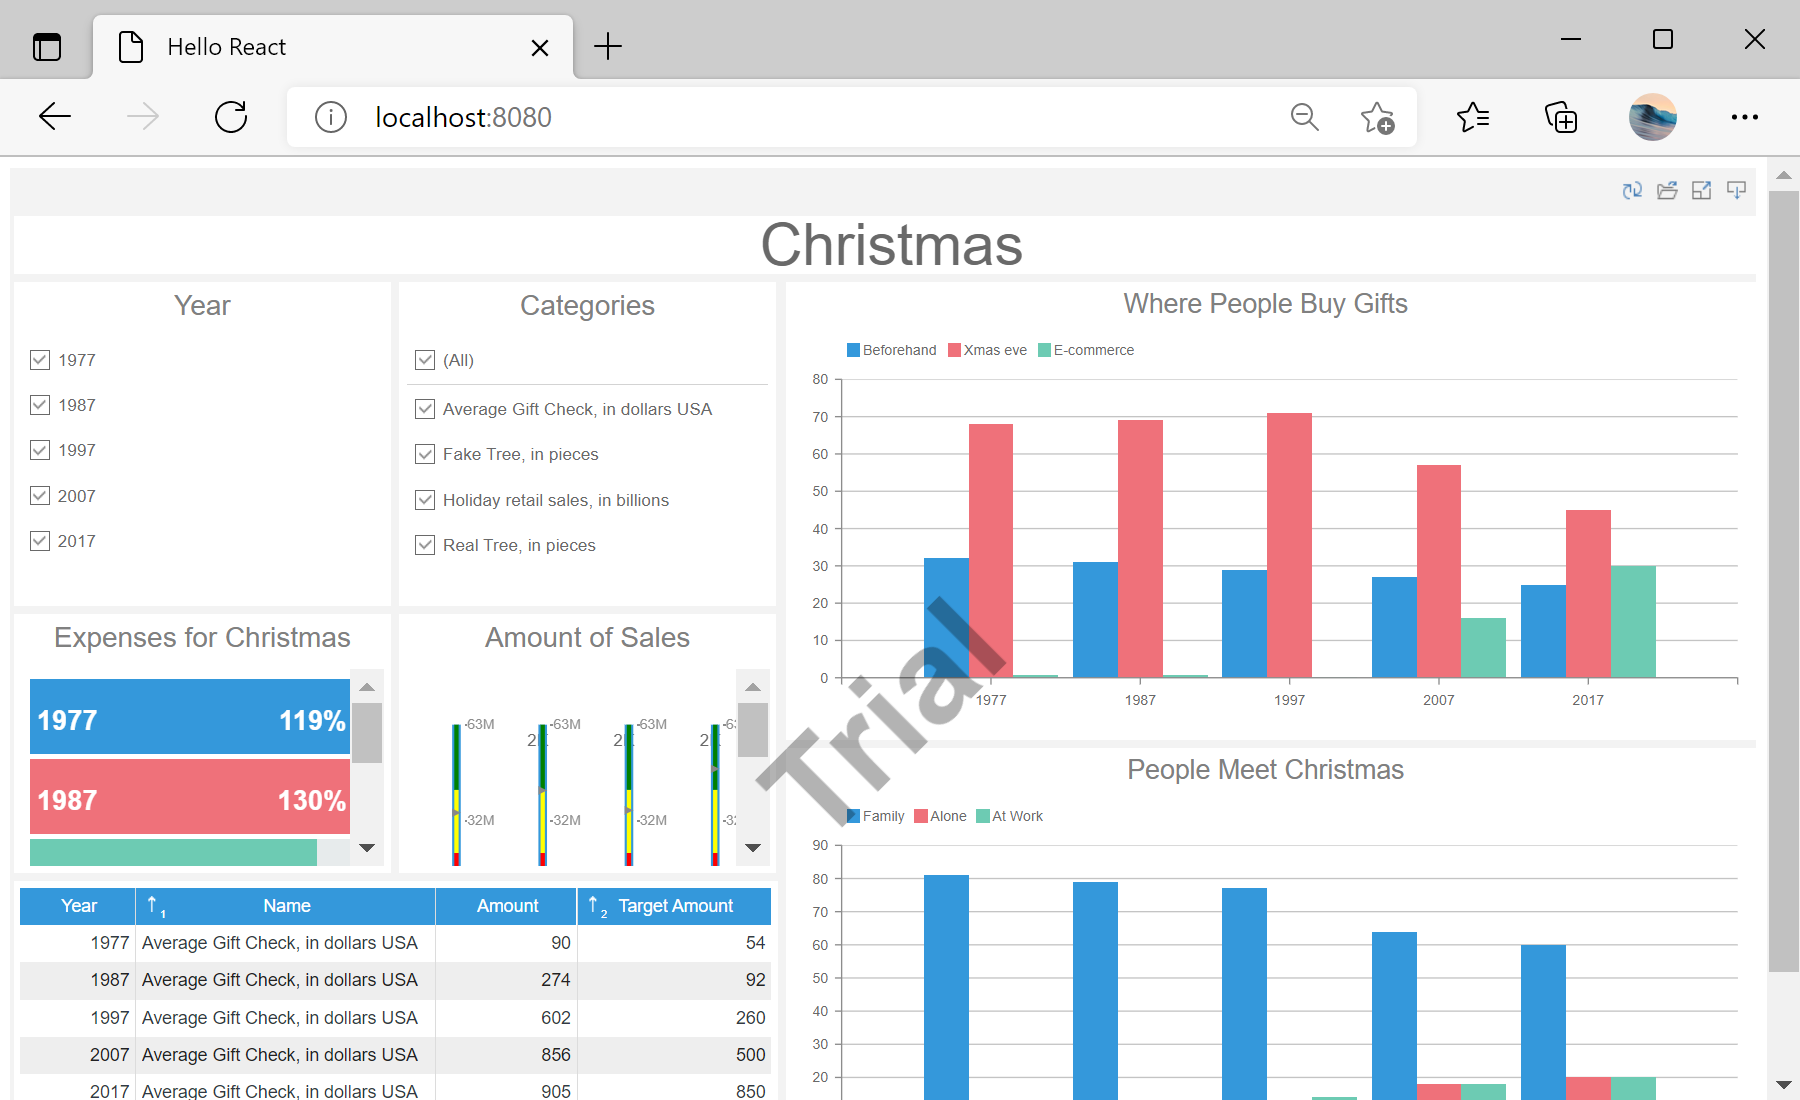
report.loadFile('/dashboard/DashboardChristmas.mrt');
console.log('Assigning dashboard to the viewer, the dashboard will be built automatically after rendering the viewer');
viewer.report = report;
console.log('Rendering the viewer to selected element');
viewer.renderHtml('viewer');
}
}
...ReactDOM.render to update the component:
...

	ReactDOM.render(
		<Viewer />,
		document.getElementById("main")
	)
</script>