Dashboard with Images
This chapter will cover the following:
![]() Adding an Image element to the dashboard;
Adding an Image element to the dashboard;
![]() Download image from a local storage;
Download image from a local storage;
![]() Using the icon in the Image element;
Using the icon in the Image element;
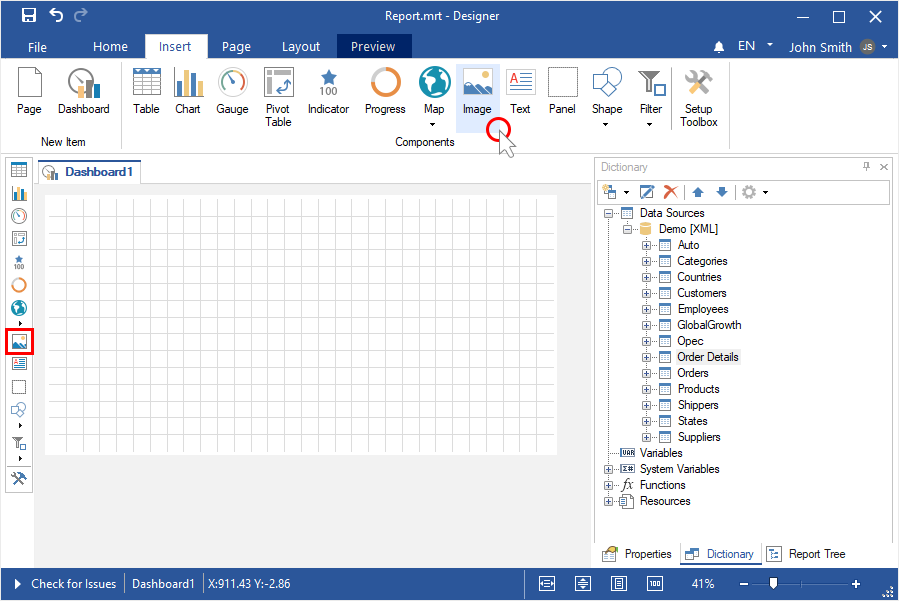
Step 1: Run the report designer;
Step 2: Create a dashboard or add it to a current report;
Step 3: Select the Image element in the toolbox of the report designer or on the Insert tab;
Step 4: Place the item on the dashboard panel;
Step 5: If the element editor does not open, double-click on the image;
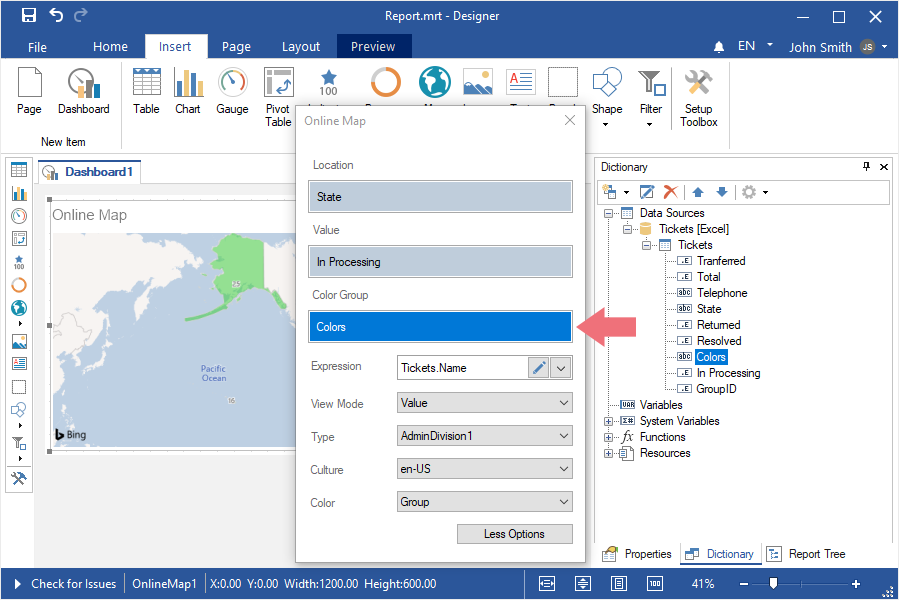
Step 6: Download the image from the local storage, select the icon or specify a hyperlink to the image.
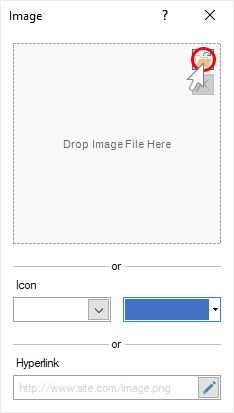
Loading an image from a local storage
Step 1: Double-click on the Image element to call the editor;
Step 2: Click the Open button;

Step 3: Select an image from the local storage, and click the Open button in the dialog box;
Step 4: Close the element editor;
Step 5: Go to the Preview.
Step 1: Double-click on the Image element to call the editor;
Step 2: Click the Browse button in the Icon field, and select the icon in the drop-down list;
Step 3: Using the color palette element, you can change the color of the icon;
Step 4: Close the element editor;
Step 5: Go to the Preview.

Step 1: Double-click on the Image element to call the editor;
Step 2: Specify a link to the image in the Hyperlink field;
Step 4: Close the element editor;
Step 5: Go to the Preview.
By default, aspect ratio is enabled when loading an image. To disable the aspect ratio, you should do the following:
Step 1: Select the Image element;
Step 2: Set the value to False for the Aspect Ratio property.
