Dashboard with Custom Region Map
In this chapter, you will find the following:
When you create a dashboard, you can use custom maps in the Region Map element. Consider the example of adding a Haiti map to the list of regional maps. To achieve this, you should do the next steps:
Step 1: You should find the source of the map, which you need to integrate into the list of maps. For example, Haiti.svg.
Step 2: Open this file using the editor. In our case, using VSCode.
Step 3: Create a text file named Haiti.txt and open it in VSCode;
Information |
Since the map file is created in the JSON format, you should check the rules of its formatting.
|
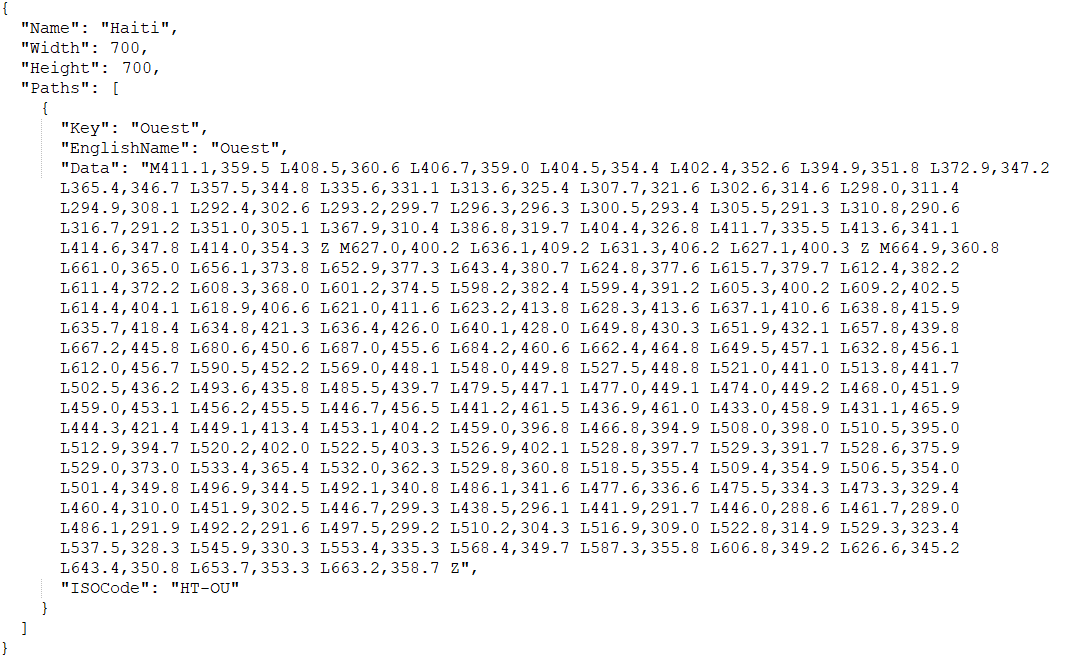
Step 4: In the Haiti.txt file, add the Name, Width, and Height fields with the values. In the current example, the values are "Name": "Haiti", "Width": 700, "Height": 700.

Step 5: In the Haiti.txt file, add the Paths array and go to the creation of geographic map objects. To create a geographic object, you should specify the Key, EnglishName, Data, ISOCode fields with values. Values for these fields can be taken from the source file Haiti.svg.
Step 6: Create the Key field in the Haiti.txt file and copy the value from the source file there. In the current source file Haiti.svg, you need to copy the value from the title field.
Information |
Please note that the Key field cannot contain spaces, dashes, special characters, etc. The Key field can contain only Latin letters. So, if the source file contains invalid characters, then when copying the values, they must be deleted.
All values in the Key field must be unique. It is not allowed to use the same values in several geographic objects. Each geographic object must have its own value in the Key field.
|
Step 7: Create the EnglishName field in the Haiti.txt file and copy the value from the source file there. This is the name of the geographic objects that will be displayed. Unlike the Key field, the value of this field can contain various characters.
Step 8: Create the Data field in the Haiti.txt file and copy the value from the source file there. Copy the value from the id field in the current Haiti.svg source file.
Step 9: Create the ISOCode field in the Haiti.txt file and copy the value from the source file there. Copy the value from the id field in the current Haiti.svg source file.
Step 10: Add the required number of geographic objects of the map;
Step 11: After adding all the geographic objects, you should save the changes to the Haiti.txt file;
Step 12: Rename Haiti.txt to Haiti.map;
Step 13: Run the report designer and drag the Haiti.map file into the data dictionary;
Step 14: Add the Region map element to the dashboard panel;
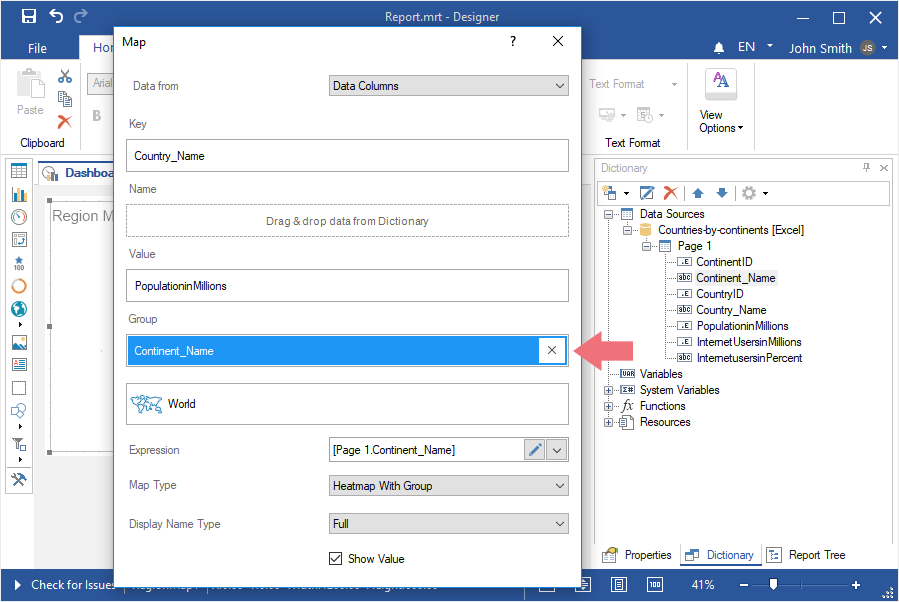
Step 15: Click the Custom category in the map editor, select Haiti and click OK;
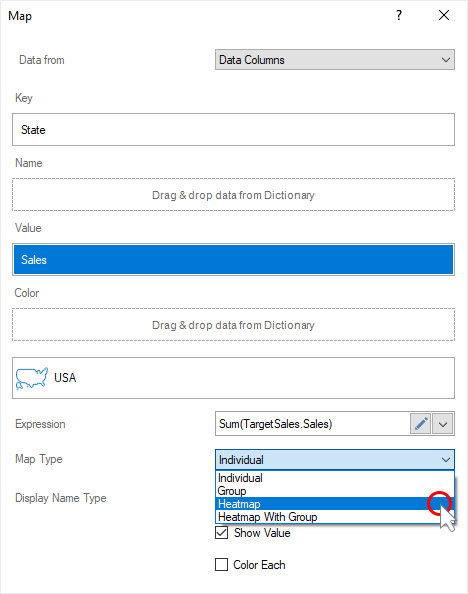
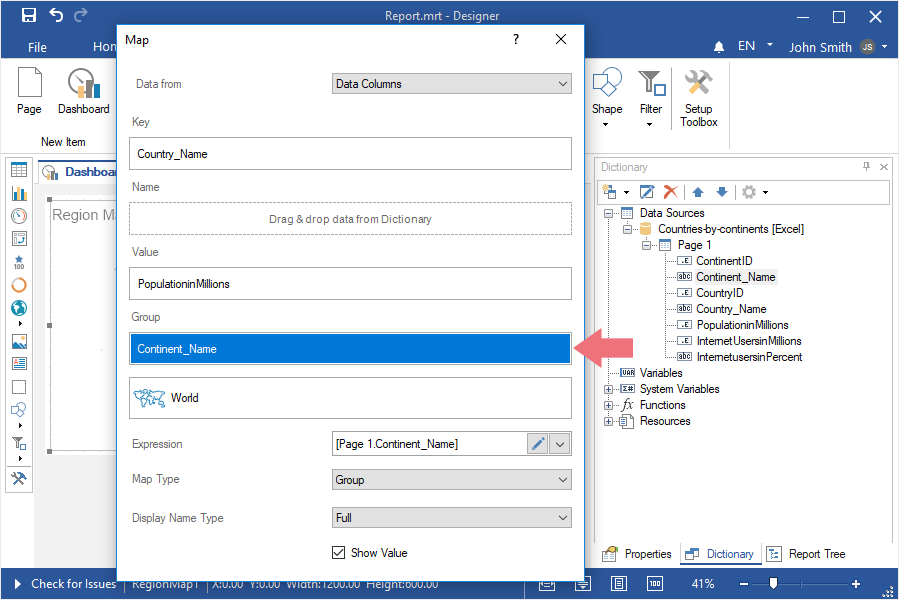
Step 16: Set the values of geographic objects and set the parameters of the Region Map element;
Step 17: Close the Region Map editor.
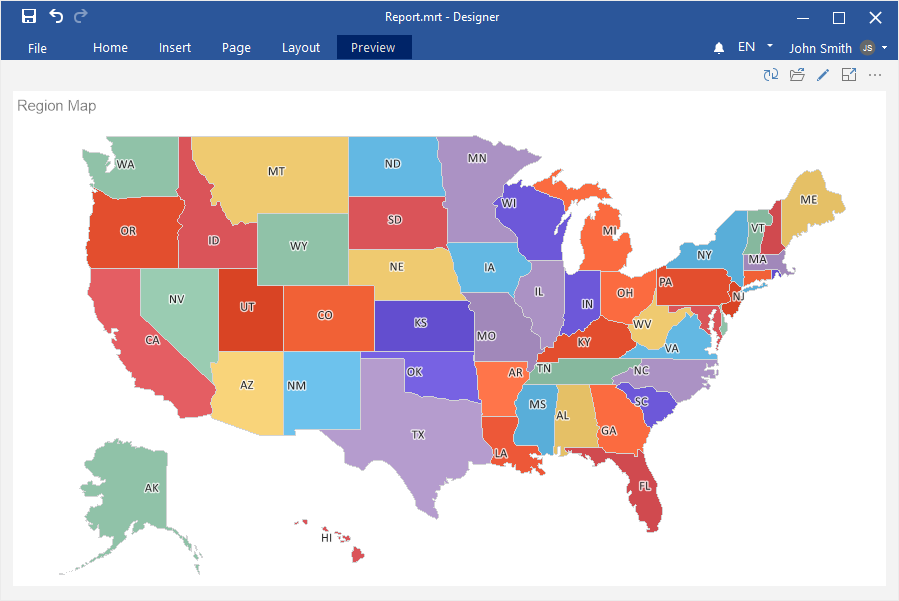
Now, you can create dashboards using this map.

Also, you can customize the map you added. Follow the steps below to achieve this:
Step 1: Select the Haiti resource in the data dictionary and click the Edit button in the data dictionary;
Step 2: Click the Edit button in the Edit resource dialog;
Step 3: The Map editor will be called;
Step 4: Uncheck the check boxes of geographic objects if you want to disable displaying them when working in the current editor;
Step 5: Select a geographic object in the list and change the location of the title area using the cursor keys (left, right, top, bottom);
Step 6: Hold down the Shift key and use the keys (left, right, top, bottom) to resize the title area;
Step 7: Using the alignment commands (horizontal, vertical), set the location of the title text in its area;
Step 8: Enable text wrapping if you need to wrap the title text to the next line;
Step 9: Select the Hide Text checkbox if you do not want to display the title text;
Step 10: Click on the Icon parameter, if you want to load a custom icon for the current map;
Step 11: Click the OK button in the Map editor;
Step 12: Click the OK button in the Resource editor.
Changes will be applied to the map of this type.