Margins
When you print a report, it is common to encounter situations where the printer is unable to print to the edges of the paper, resulting in a loss of information. In other words, the page may have maximum text content, but due to the technical limitations of the printer, some information at the edges will not be printed. To avoid such issues, you should set report margins. Margins help divide the printable area and the remaining empty space around the edges of the page, known as fields.

|
Generally, text and other report elements are placed in the print area. However, you can also place elements on the margins. For instance, you can use the text component to display the page number. The size of the fields can be adjusted by selecting one of the preset options or by setting them according to your preferences. You can choose preset field options by navigating to the Page tab -> Margins menu. Alternatively, custom fields can be defined using the Margins report property.
![]()
|
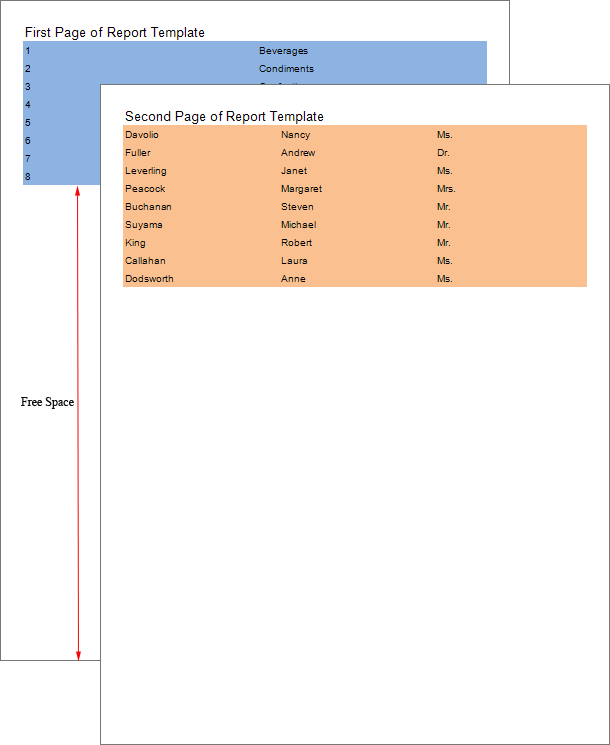
Sometimes, when creating a report to be stapled in a book, you may need to have a wider margin on one side of the page.

As seen in the picture, the right margin of the left page is wider than the left margin, while the left margin of the right page is wider than the right margin. This arrangement allows for pages to be stapled in a book. The placement of fields in consecutive pages, as shown above, is referred to as a mirror arrangement of margins. To activate the mirror margins, you need to set the Mirror Margins property to true.
|
Now consider the example of setting margins. Predefined fields can be changed on the Page tab with help of the Margins command.

|
The customization of fields is done through the property panel. Depending on the type of interface, there may be a single Margins property. In this case, the values of the properties will consist of four numeric values, starting from 0 or greater, separated by a semicolon (;).
In some types of interfaces, the Margin group of properties will be located, where each margin is treated as a separate property.
To activate the mirror fields, you should set the Mirror Margins property to true.
![]()
|