Styles are arguably the most important feature in Stimulsoft reporting. Why? Because element of a report has a style attached. The definition of a style is two-fold. First, you can think of a style as a set of pre-defined formatting instructions that you can use repeatedly throughout all reports in your application. Let's say each report header must be centered, uppercase, bold, and a slightly larger font size. Each time you need to apply formatting to the heading, you have to go through the entire process to get the text the way you want it. If you store the formatting commands in a style, you can apply that style any time you need it without having to do all of the reformatting.
Possibly more important however is that styles are used to "tag" or identify parts of a report. An example of this is whether text is of data type Numeric, a String, a DateTime, or an Expression. Styles can be created for complex controls such as Charts and Cross-Tab. These are all examples of styles in Stimulsoft reports.
If you're concerned about whether or not you need to learn styles, we can put it rather simply: you do. Styles allow for quick formatting modifications throughout the report and can be tied into columns or even particular data values to make working with conditional formatting much easier.
There are several reasons for using styles in a report:
a) Consistency - when you use styles to format your report, each section is formatted the same and therefore, provides a professional, clean-looking report. Moreover, these styles definitions can be shared among all reports in your application to given each report a consistent look and feel.
b) Easier to Modify - If you use styles in your report consistently, you only need to update a given style once if you want to change the characteristics of all text formatted in that style.
c) Efficiency - you can create a style once, and then apply it to any report without having to format each report individually.
Steps for Creating and Applying Styles:
1. Create a style in Ribbon GUI
2. Set a style for a report in Ribbon GUI
3. Create a style in Standard UI
4. Set a style for a report in Standard UI
5. Apply Style to report header
1. Create a style in Ribbon GUI


2. Set a style for a report in Ribbon GUI

3. Create a style in Standard UI
4. Set a style for a report in Standard UI

5. Apply Style to report header


Possibly more important however is that styles are used to "tag" or identify parts of a report. An example of this is whether text is of data type Numeric, a String, a DateTime, or an Expression. Styles can be created for complex controls such as Charts and Cross-Tab. These are all examples of styles in Stimulsoft reports.
If you're concerned about whether or not you need to learn styles, we can put it rather simply: you do. Styles allow for quick formatting modifications throughout the report and can be tied into columns or even particular data values to make working with conditional formatting much easier.
There are several reasons for using styles in a report:
a) Consistency - when you use styles to format your report, each section is formatted the same and therefore, provides a professional, clean-looking report. Moreover, these styles definitions can be shared among all reports in your application to given each report a consistent look and feel.
b) Easier to Modify - If you use styles in your report consistently, you only need to update a given style once if you want to change the characteristics of all text formatted in that style.
c) Efficiency - you can create a style once, and then apply it to any report without having to format each report individually.
Steps for Creating and Applying Styles:
1. Create a style in Ribbon GUI
2. Set a style for a report in Ribbon GUI
3. Create a style in Standard UI
4. Set a style for a report in Standard UI
5. Apply Style to report header
1. Create a style in Ribbon GUI
- Click on Style Designer Icon on the Home Ribbon;
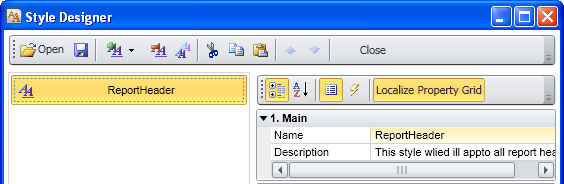
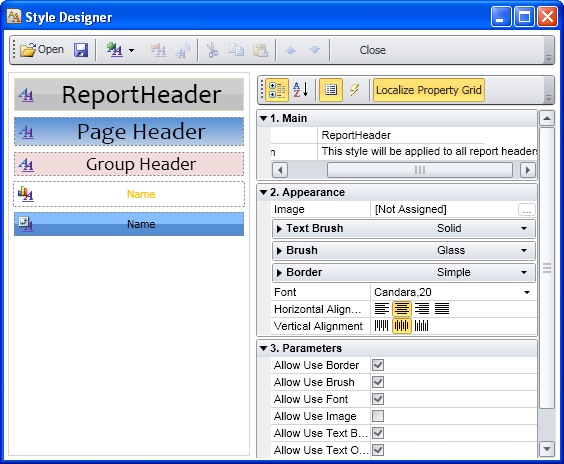
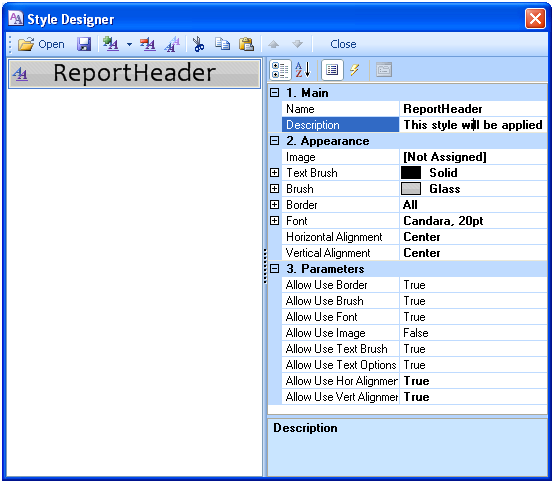
- In the style designer, click on Add Style and select Component;
- Type the name as Report header;
- Type the description as This style will be applied to all report headers;
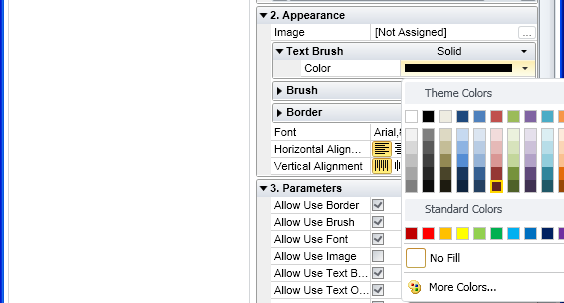
- Select the text brush color to any color of your choice as per user requirements;
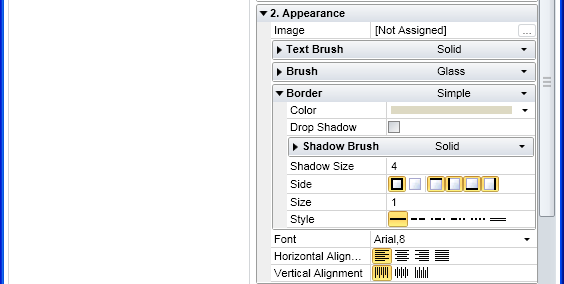
- Select Brush of the background of the text as your choice, I selected glass to make it look cool;
- Set the border if required;
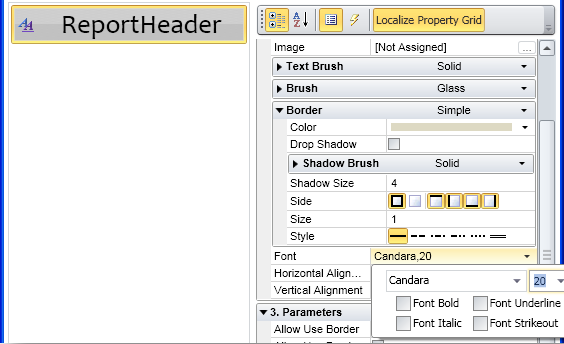
- Set Font and size;
- Set Horizontal and Vertical Align;
- Notice that the style preview changes as you make your selections;
- Hit Save button to save this style definition to used in other reports.
2. Set a style for a report in Ribbon GUI
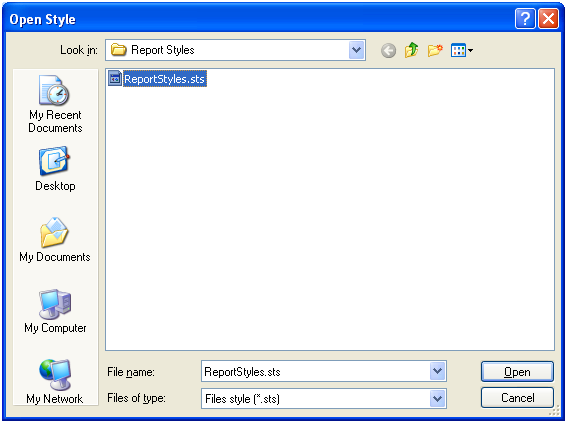
- Report styles are stored with extension .sts;
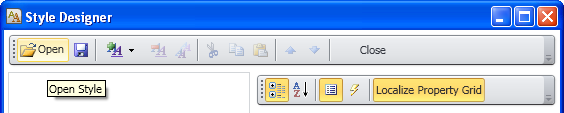
- Open style designer to style as style for the report;
- Click on Open Style;
- Browse to the location where your report style has been stored and select it;
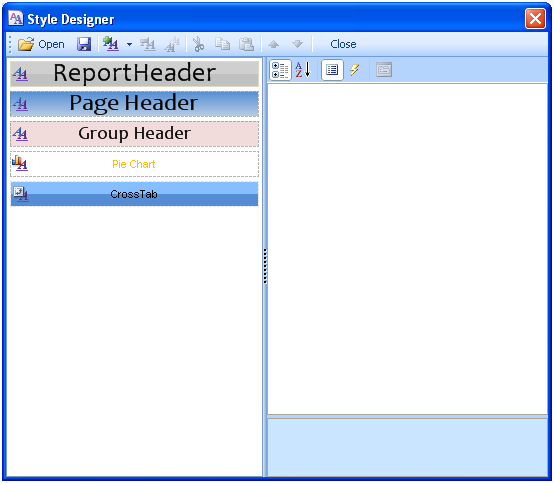
- Now Stimulsoft report designer loads all the style definitions.
3. Create a style in Standard UI
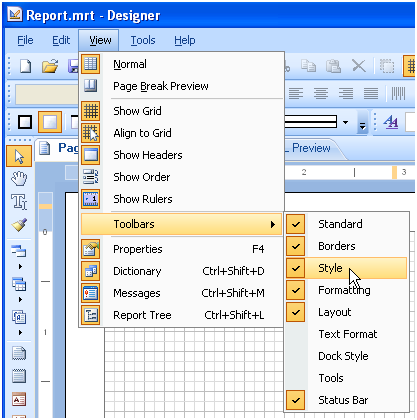
- Make sure that you have the style toolbar visible by going to View -> Toolbars -> Style;
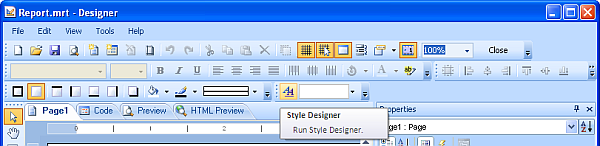
- Once you have the style toolbar visible in your report designer click on the Style Designer Icon;
- In the style designer, click on Add Style and select Component;
- Type the name as Report header;
- Type the description as This style will be applied to all report headers;
- Select the text brush color to any color of your choice as per user requirements;
- Select Brush of the background of the text as your choice, I selected glass to make it look cool;
- Set the border if required;
- Set Font and size;
- Set Horizontal and Vertical Align;
- Notice that the style preview changes as you make your selections;
- Hit Save button to save this style definition to used in other reports.
4. Set a style for a report in Standard UI
- Report styles are stored with extension .sts;
- Open style designer to style as style for the report;
- Click on Open Style;
- Browse to the location where your report style has been stored and select it;
- Now Stimulsoft report designer loads all the style definitions.
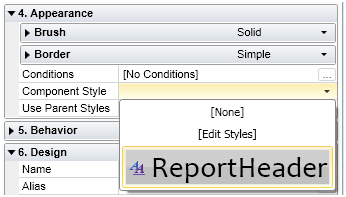
5. Apply Style to report header
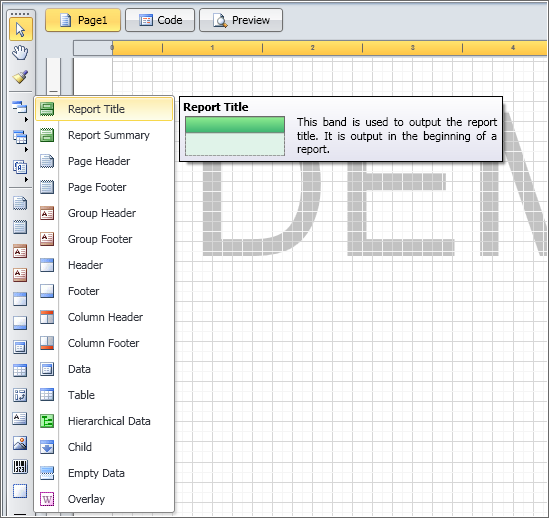
- Add a report title to your report;
- Add a text label inside the report title;
- Change the text to Sales Report and increase the width of the style to span the width of the report;
- Go to Appearance section of the properties of the label and select custom styles;
- Select Report Header;
- No we find that the report title has been formatted as per our style specifications.